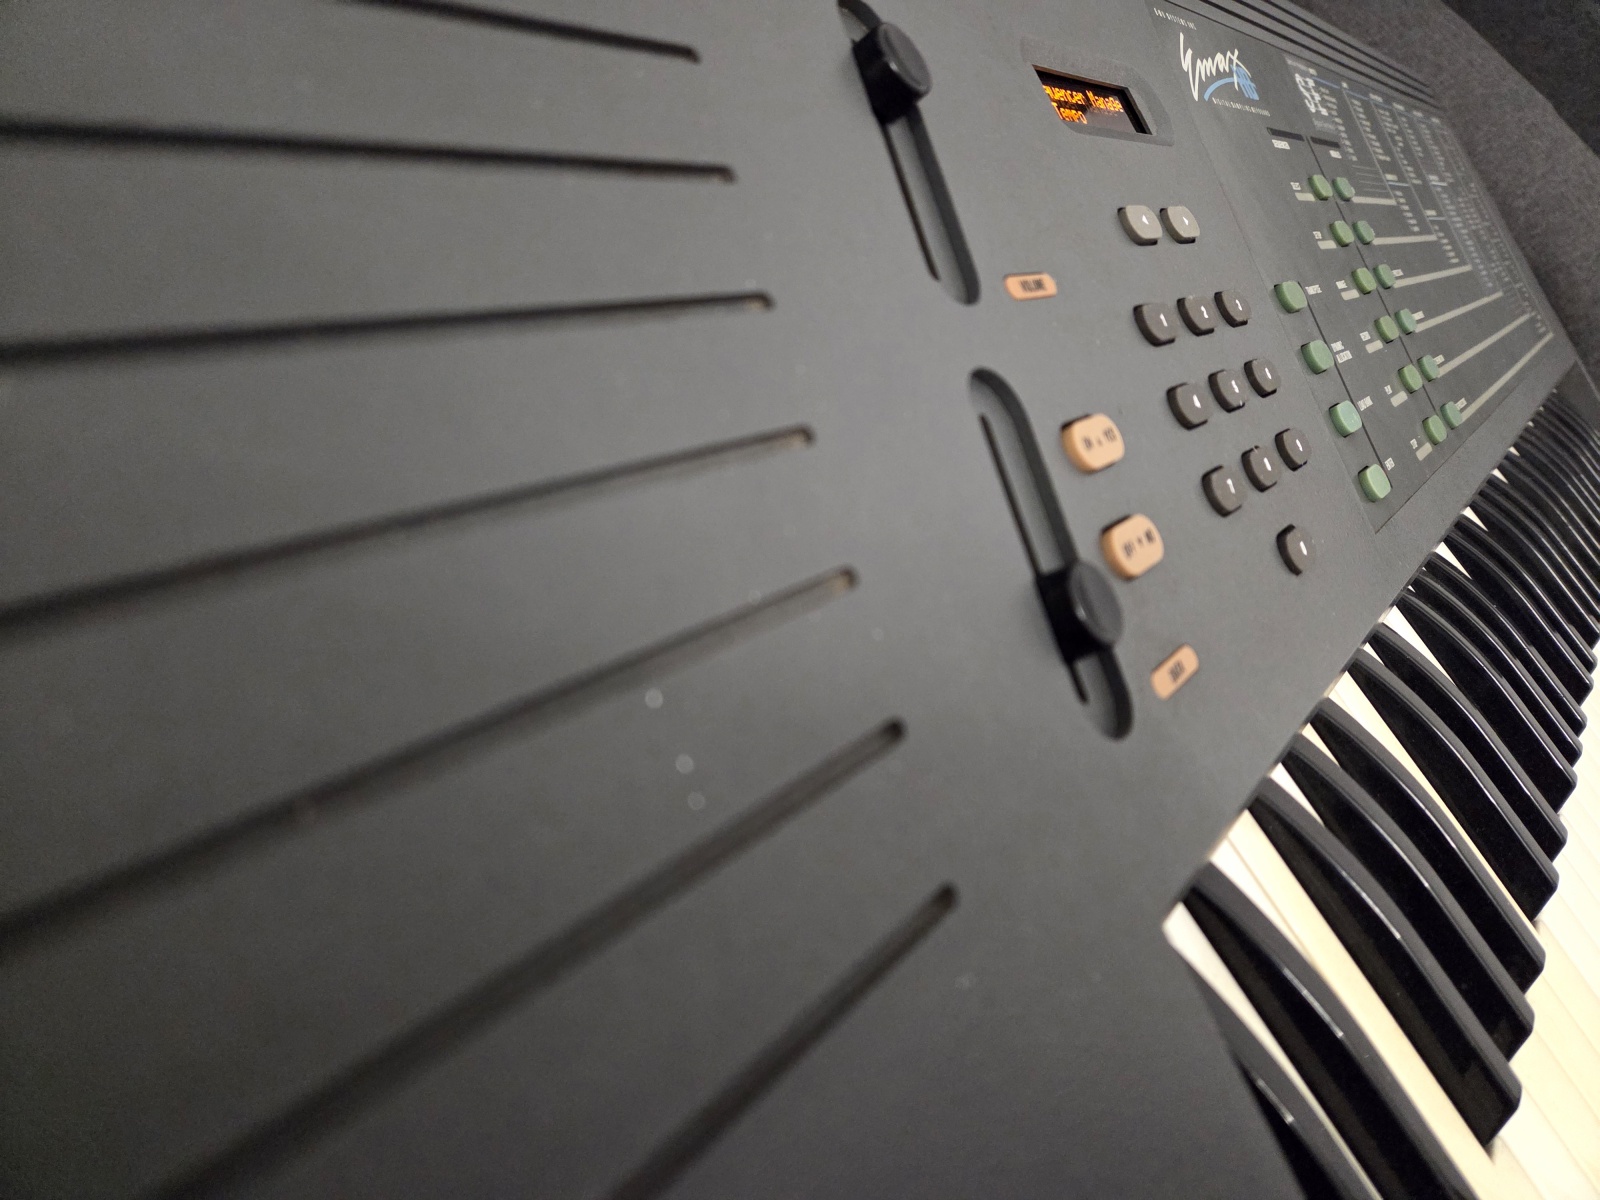
E-mu Emax HD
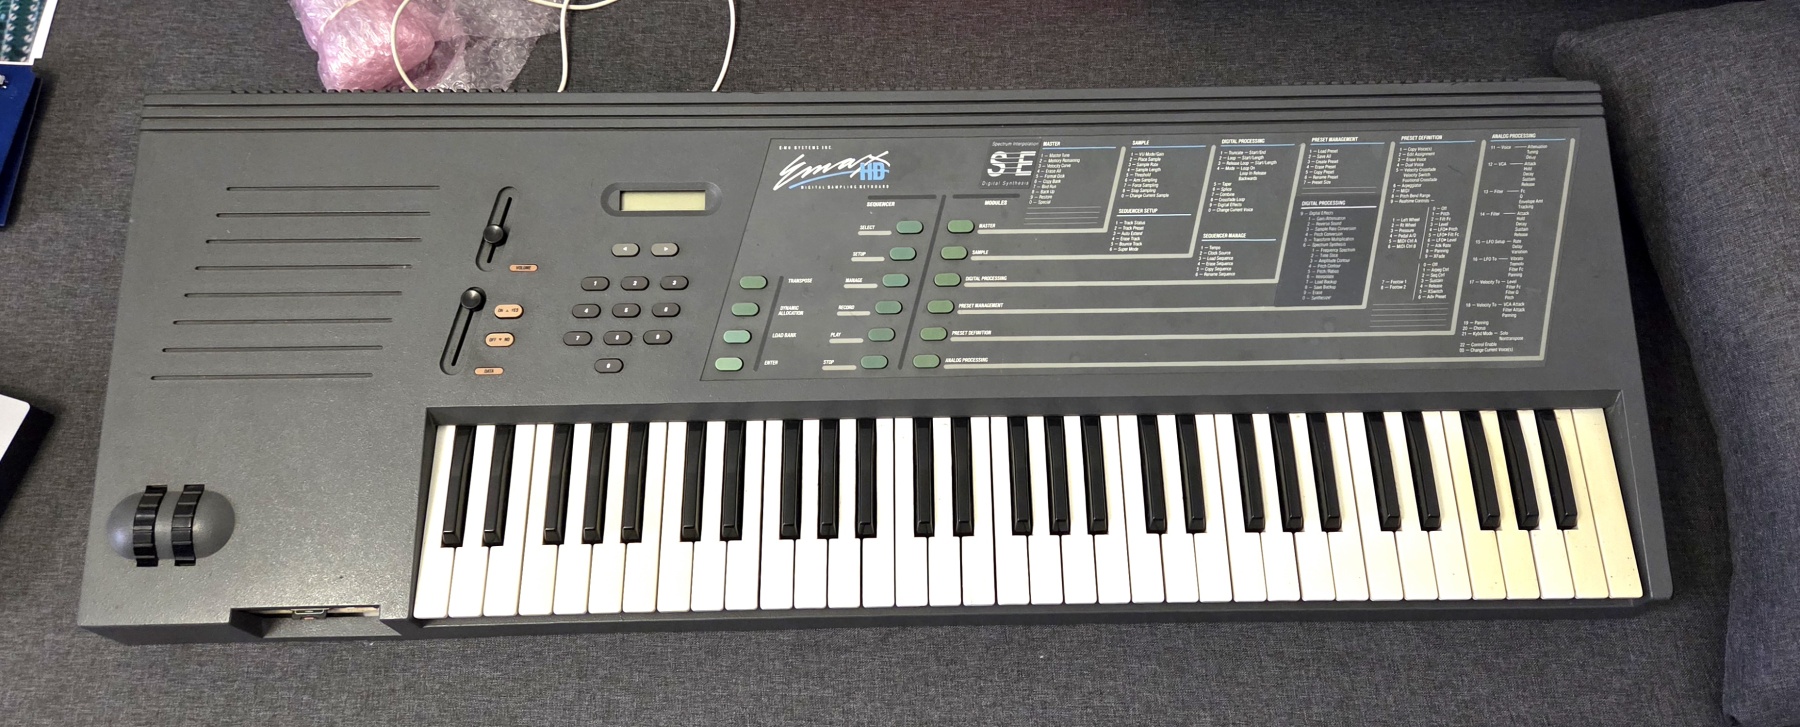
The first E-mu sampler in my workshop. An Emax HD. The following faults needed to be addressed:
- most of the control panel buttons were not working,
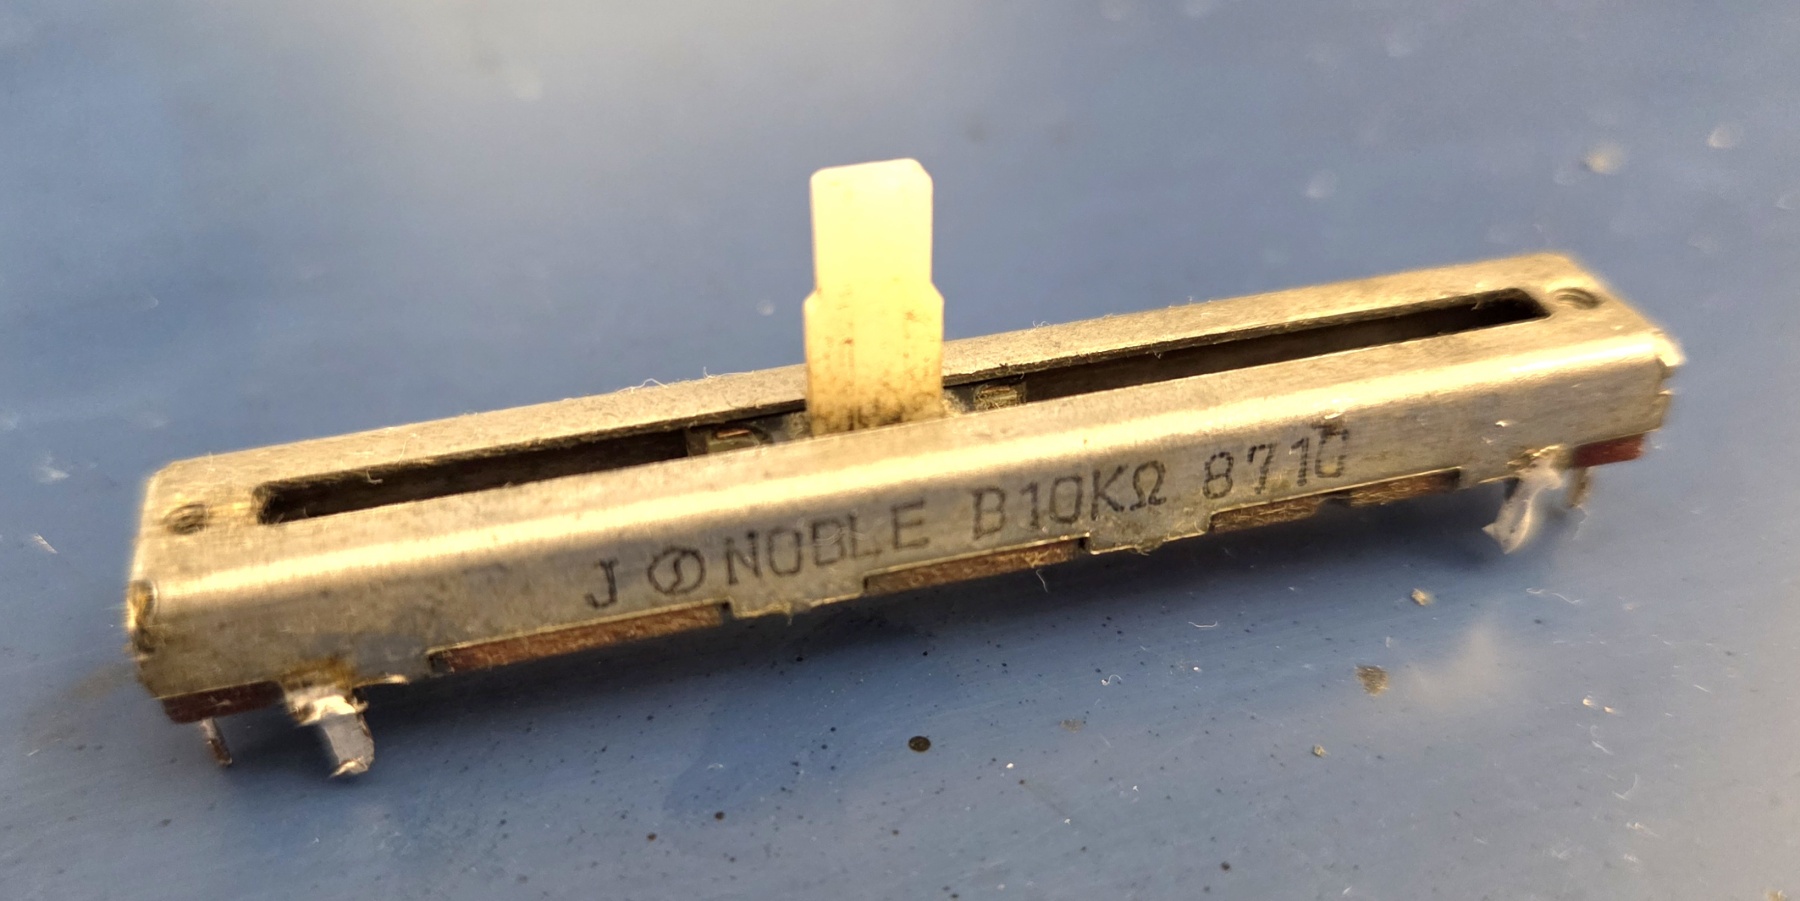
- the Volume and Data potentiometers were either not working or were inaccurate,
- the dedicated SD/SCSI adapter module was powered incorrectly,
- the display had no backlight.
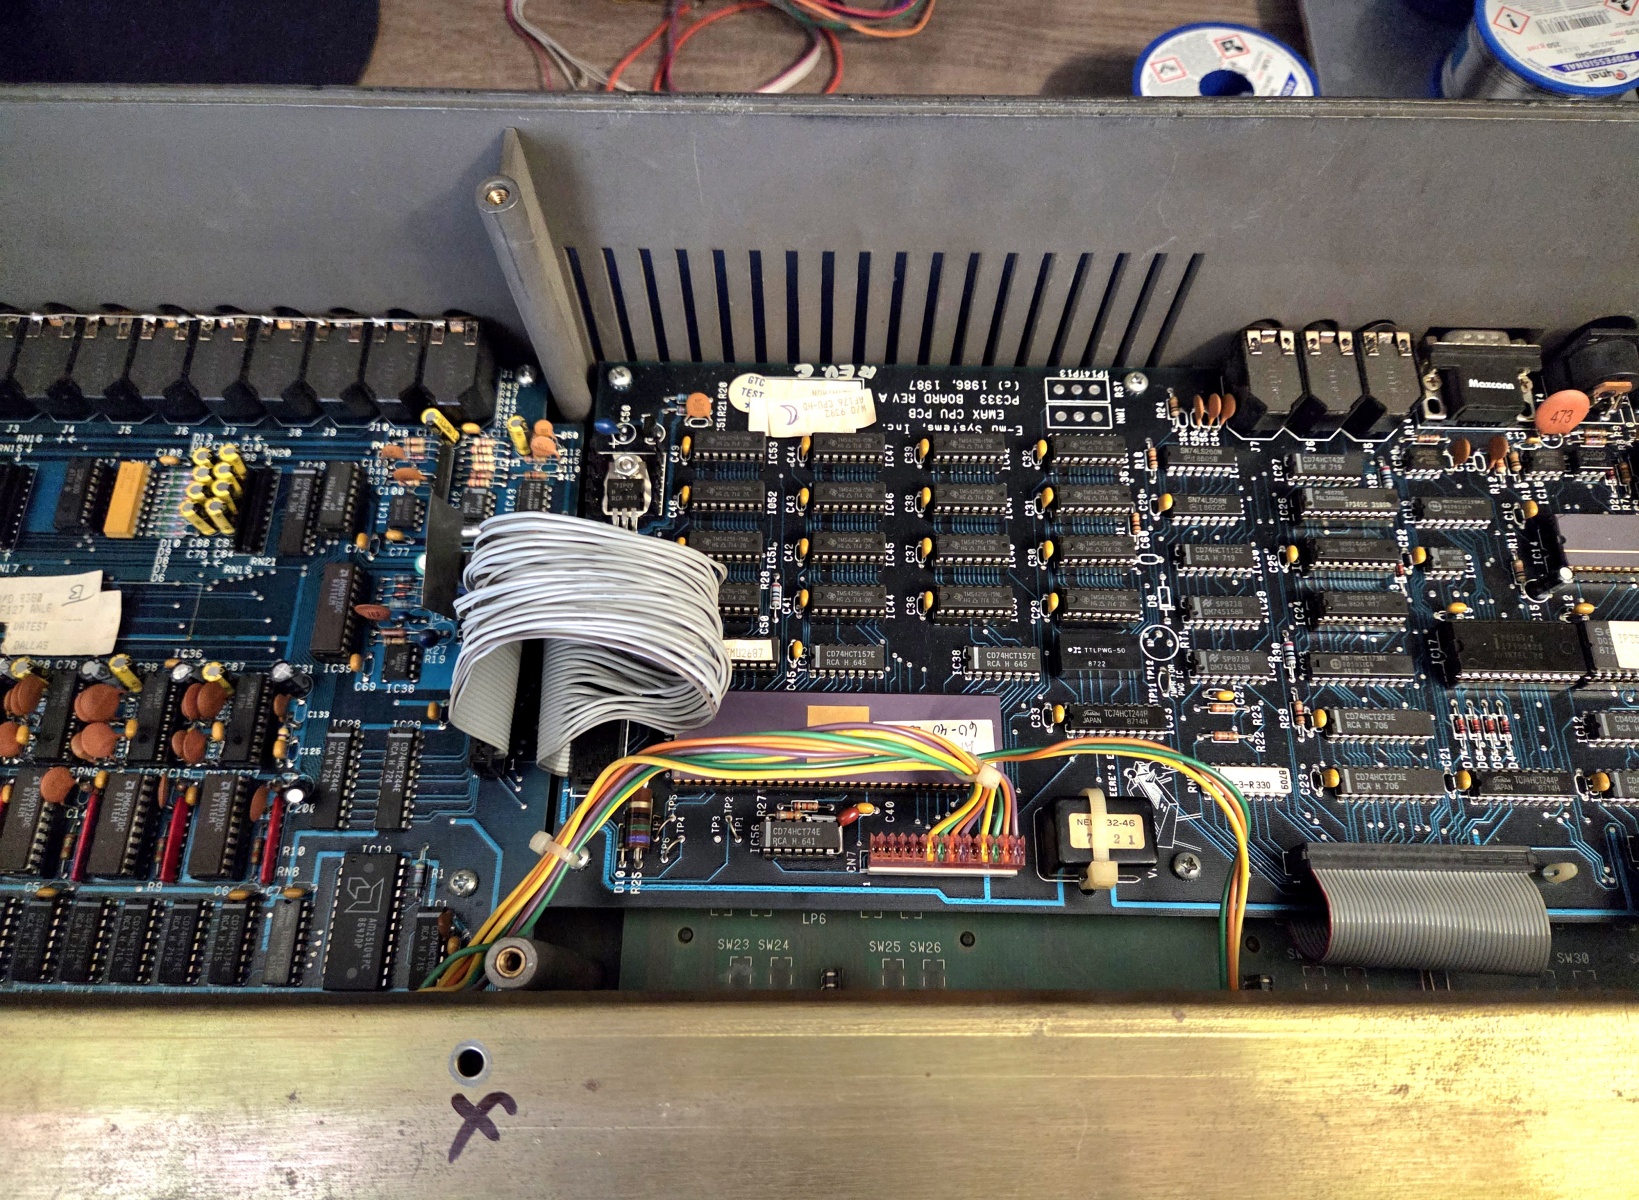
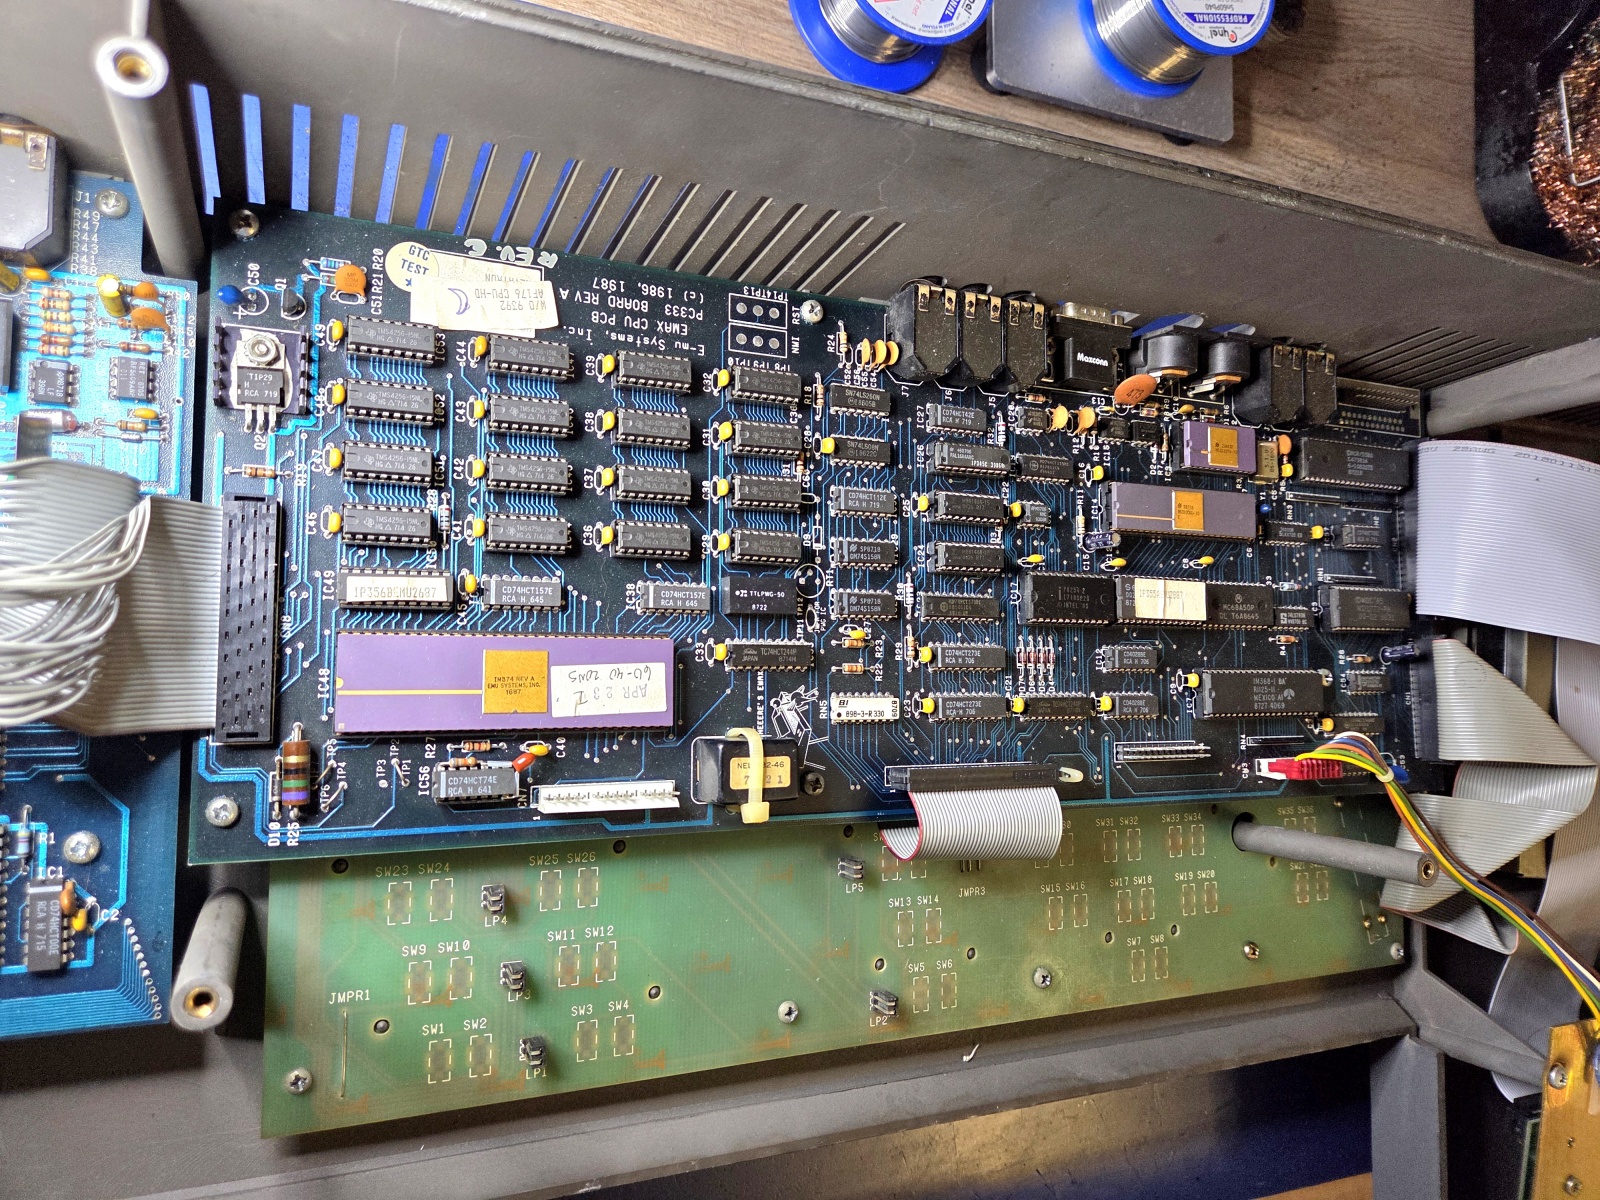
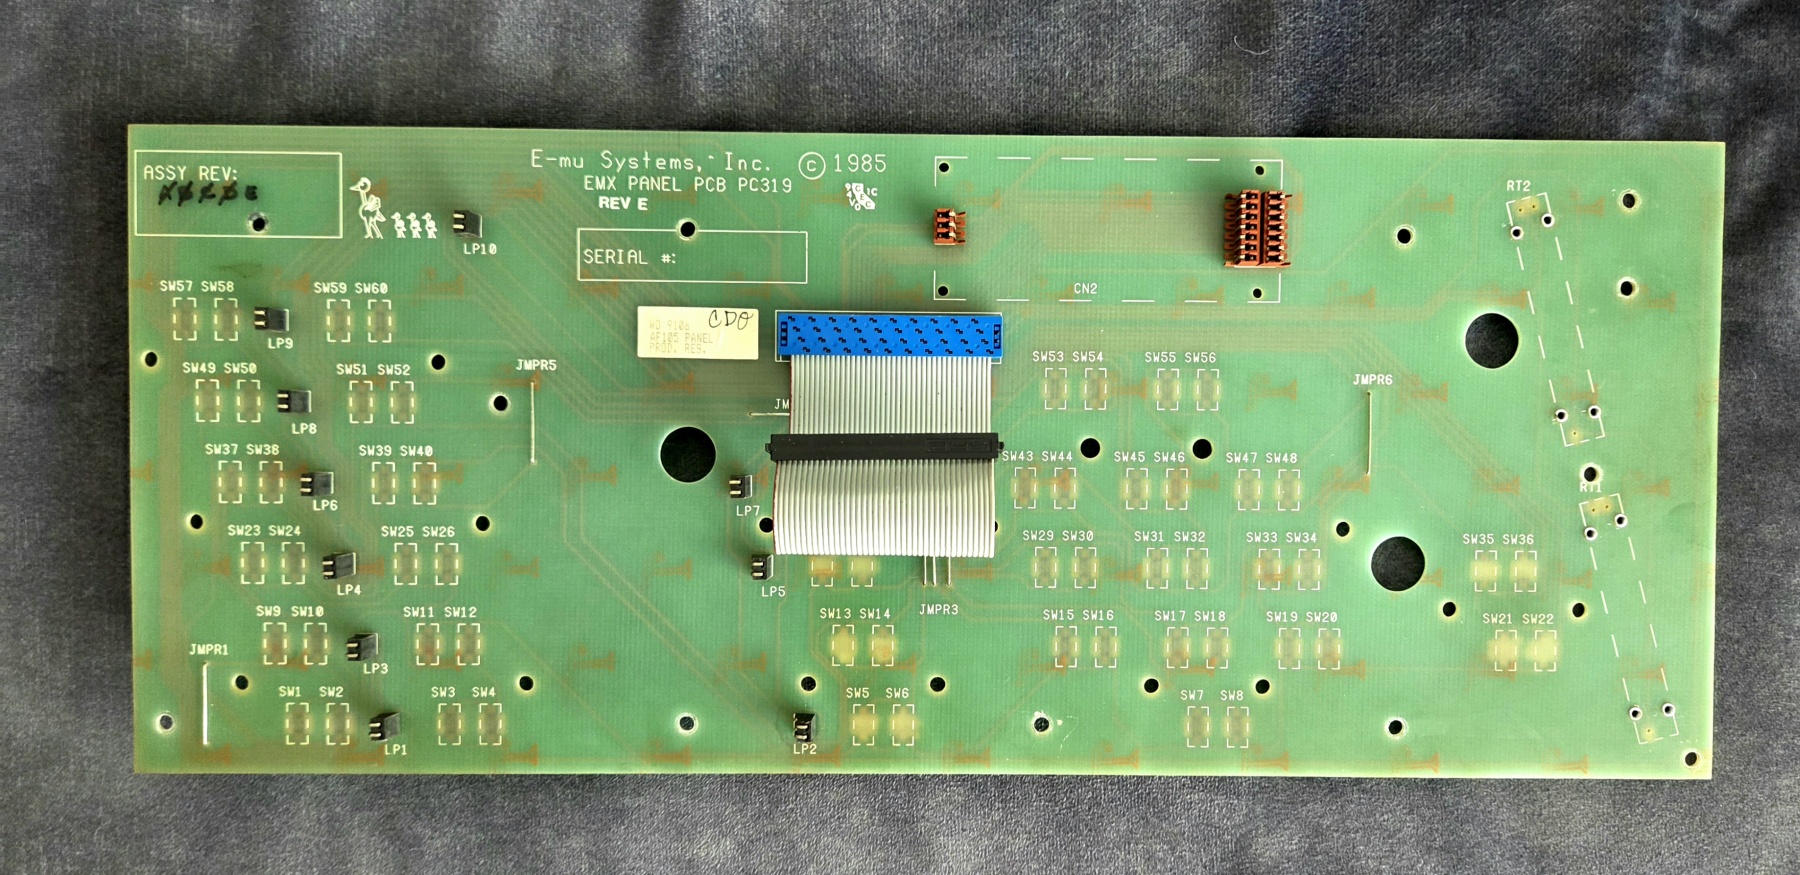
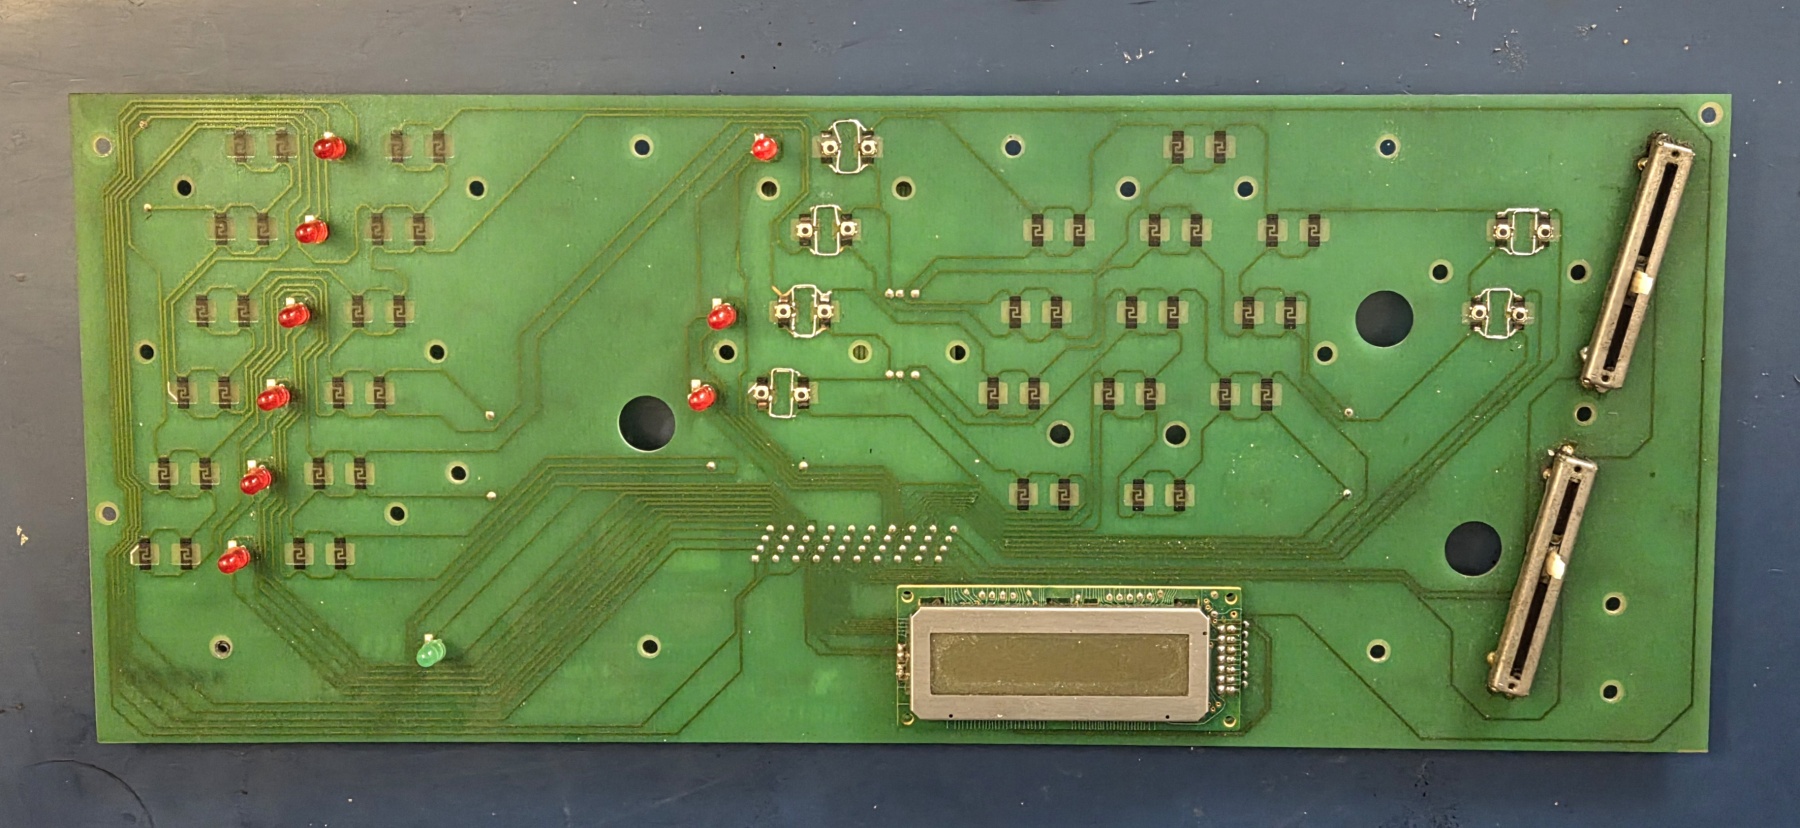
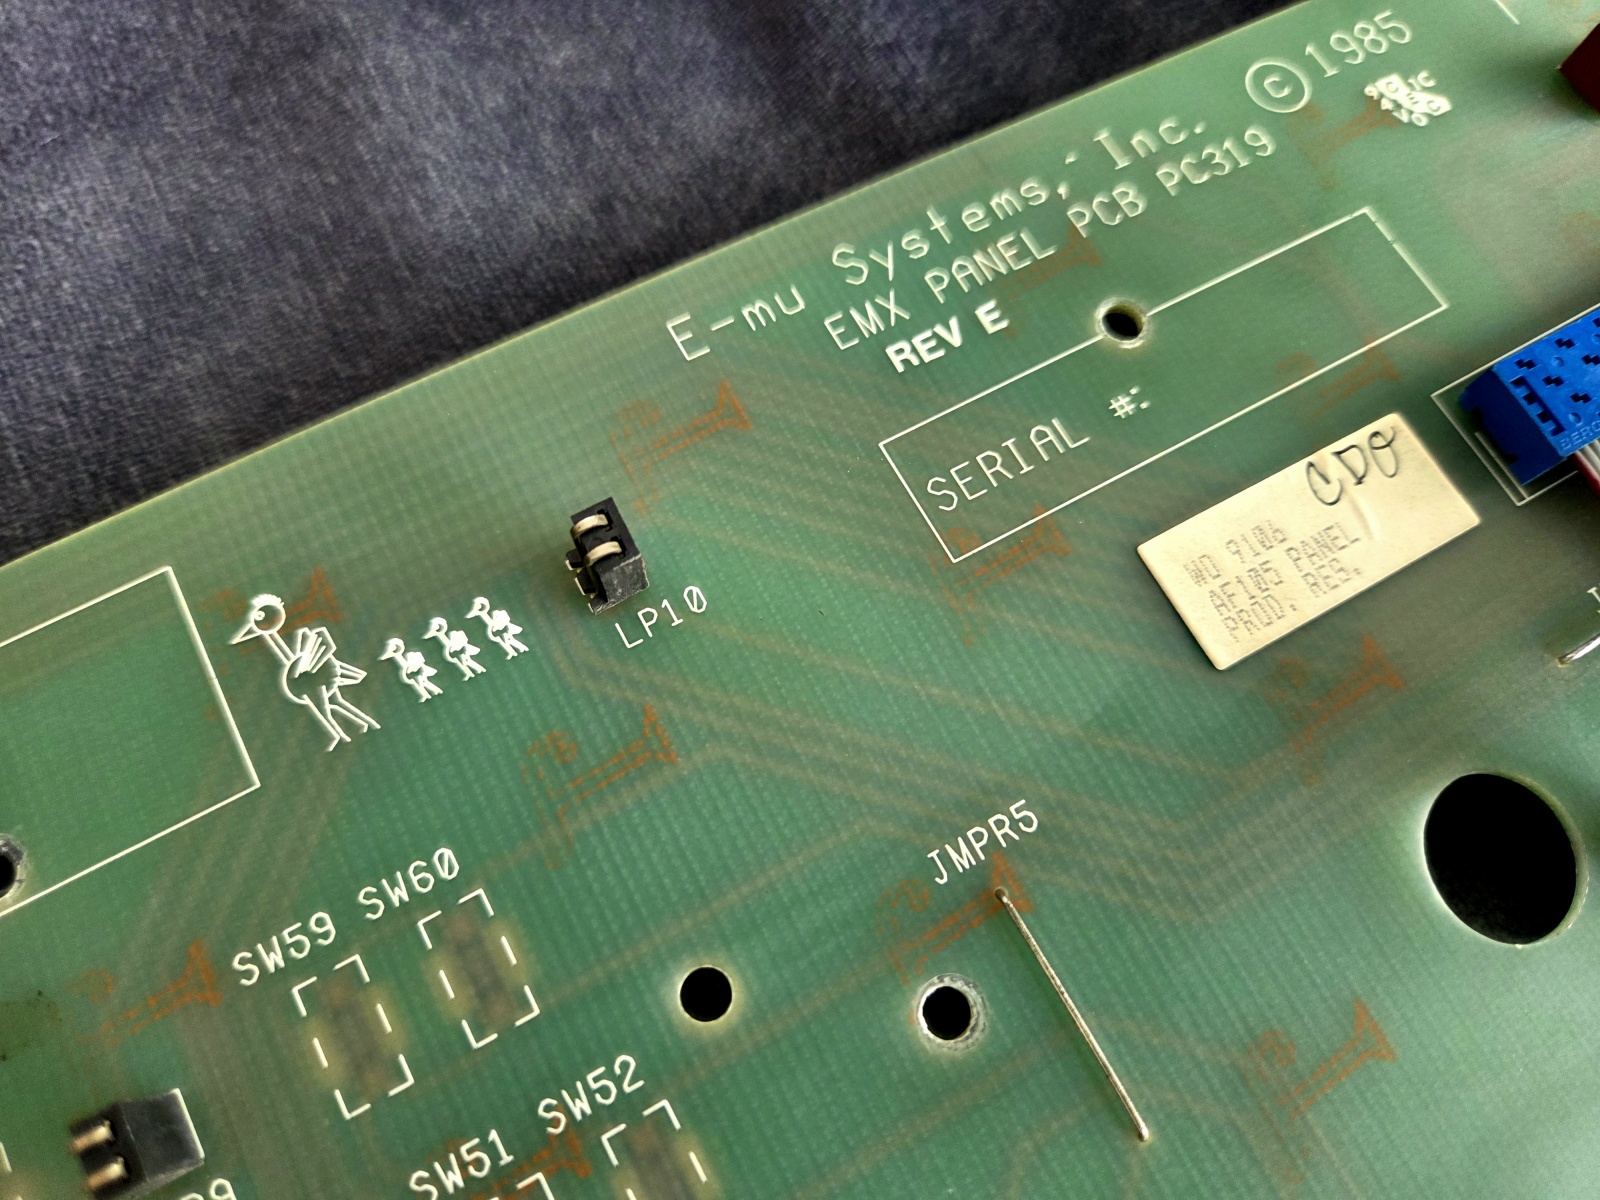
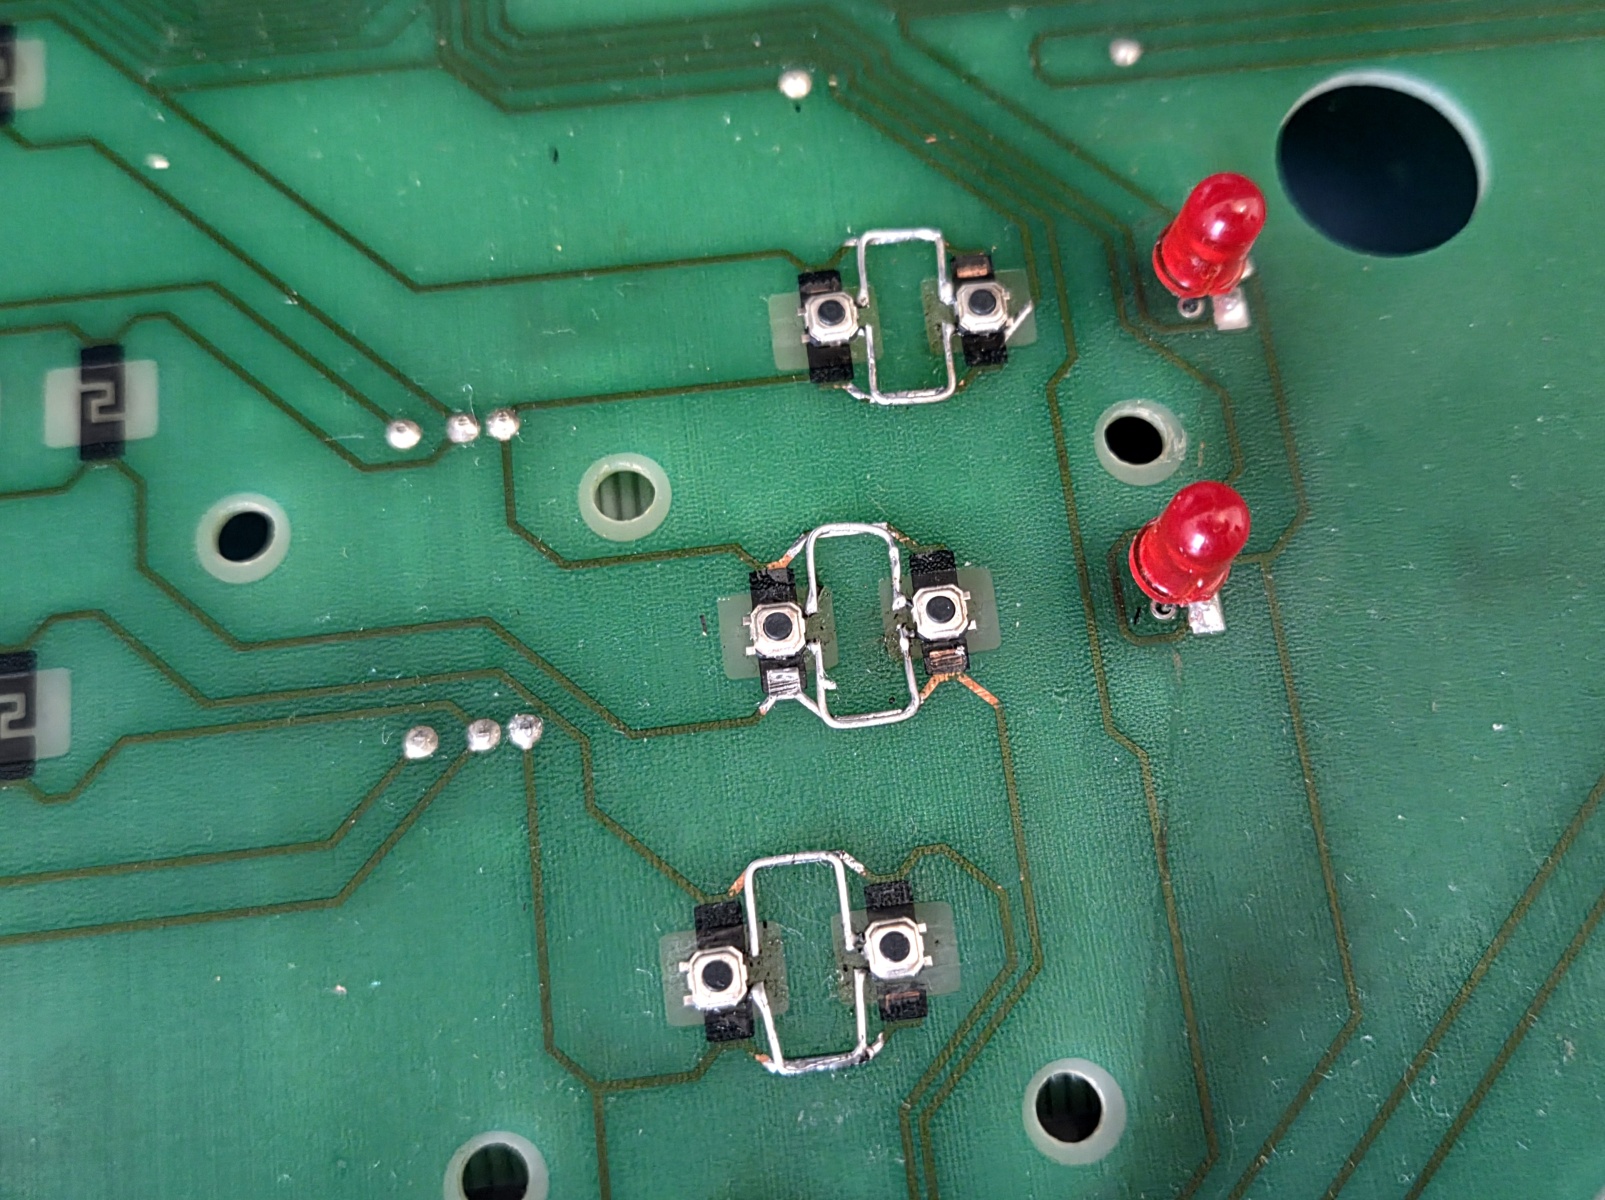
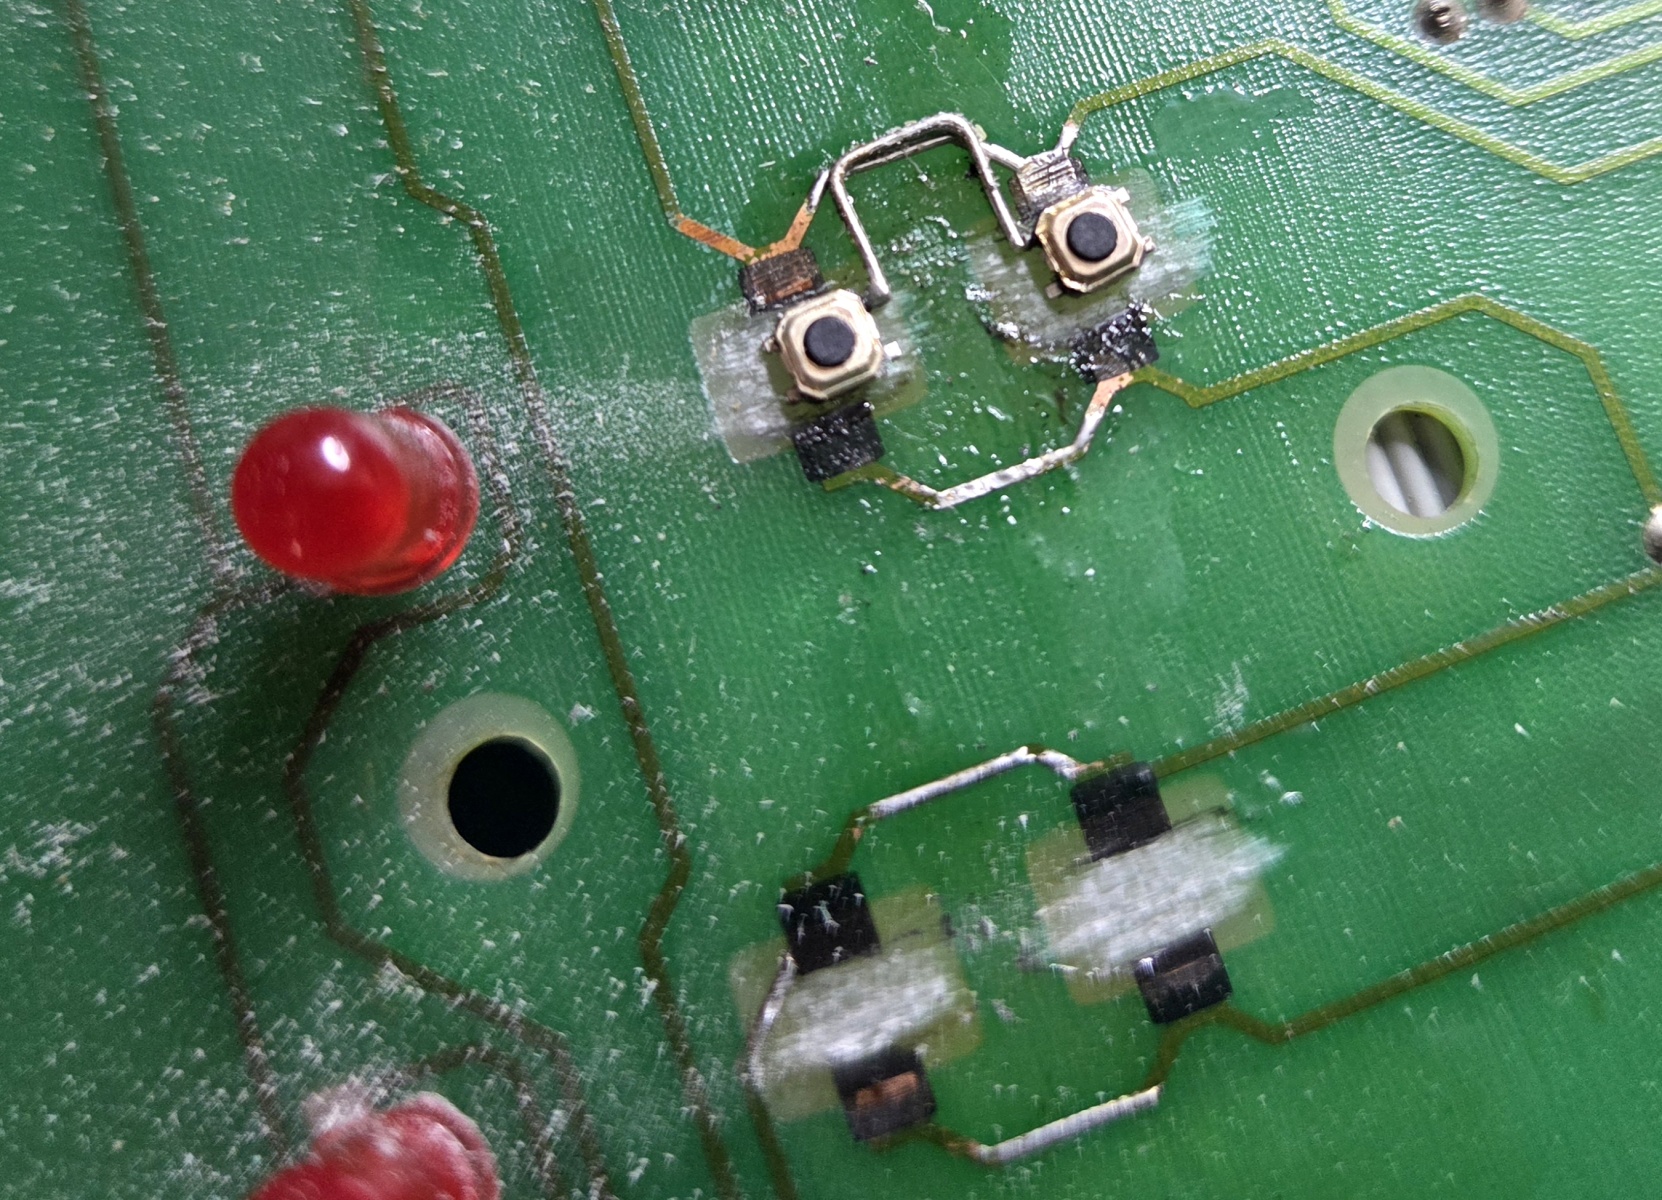
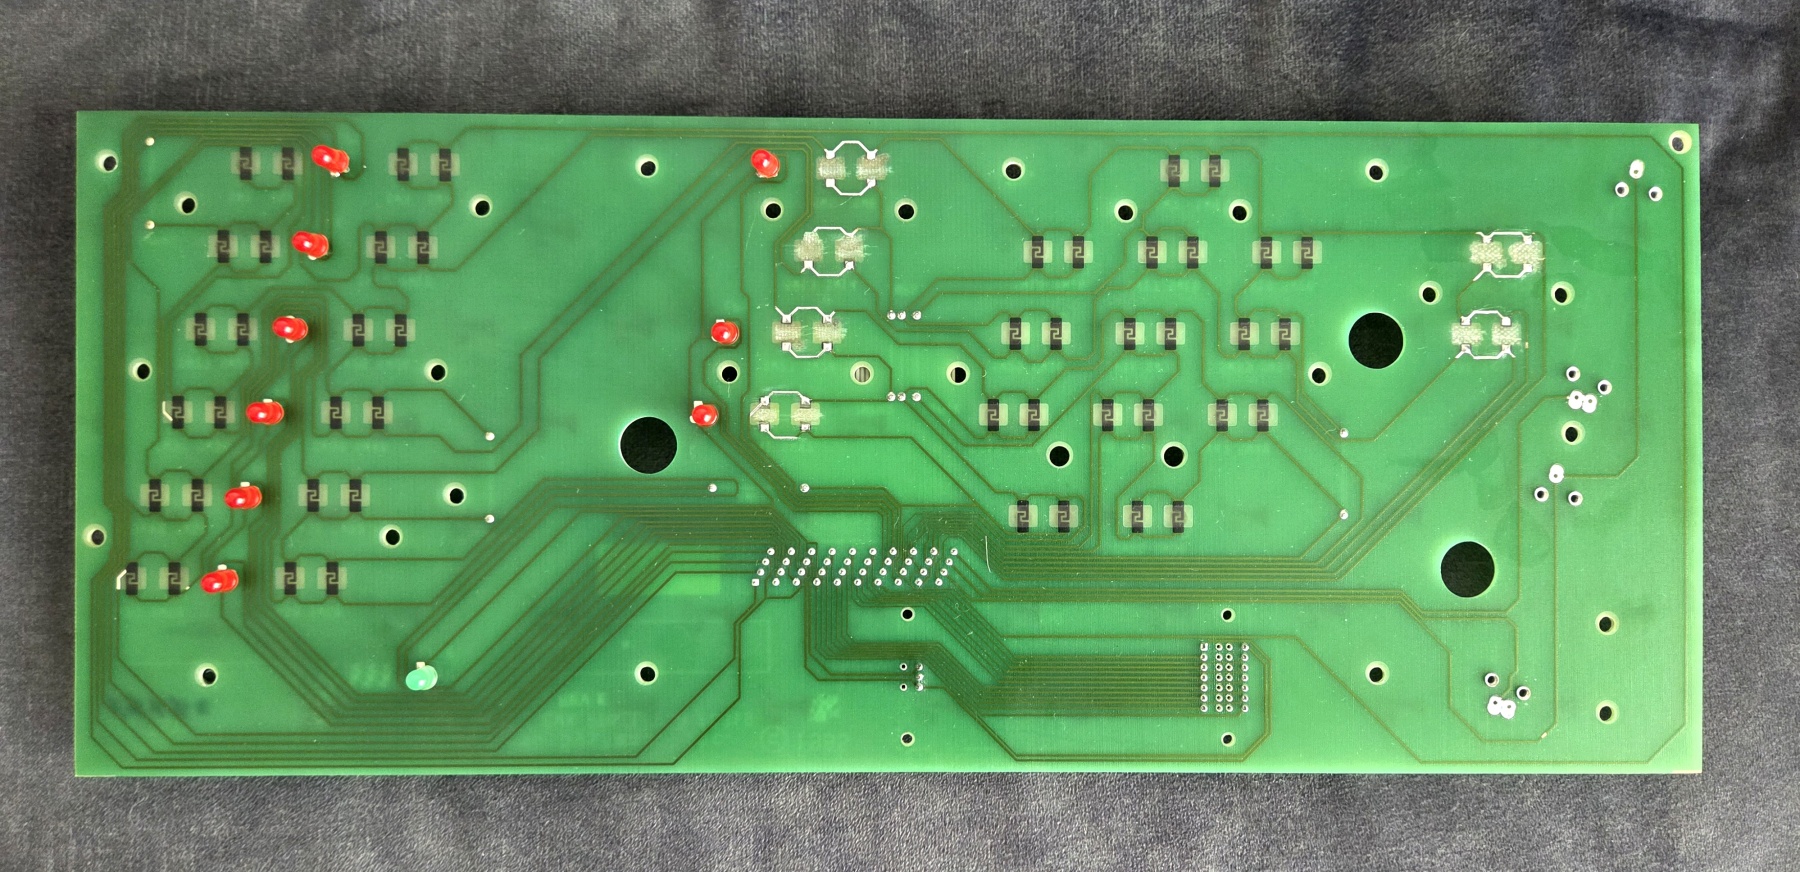
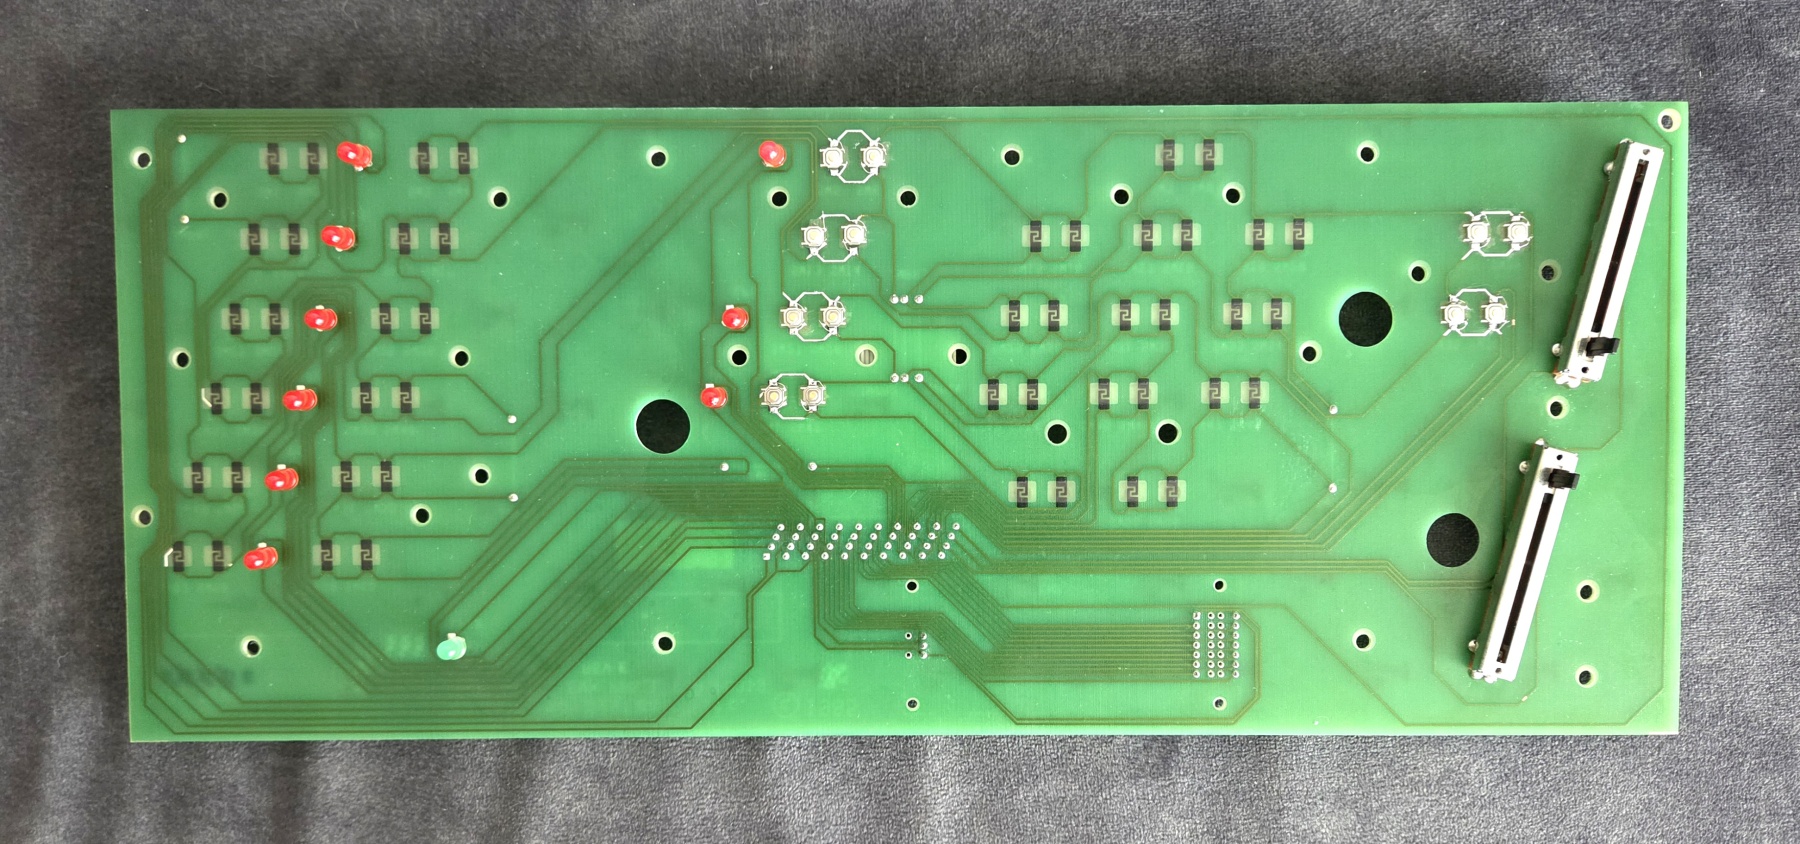
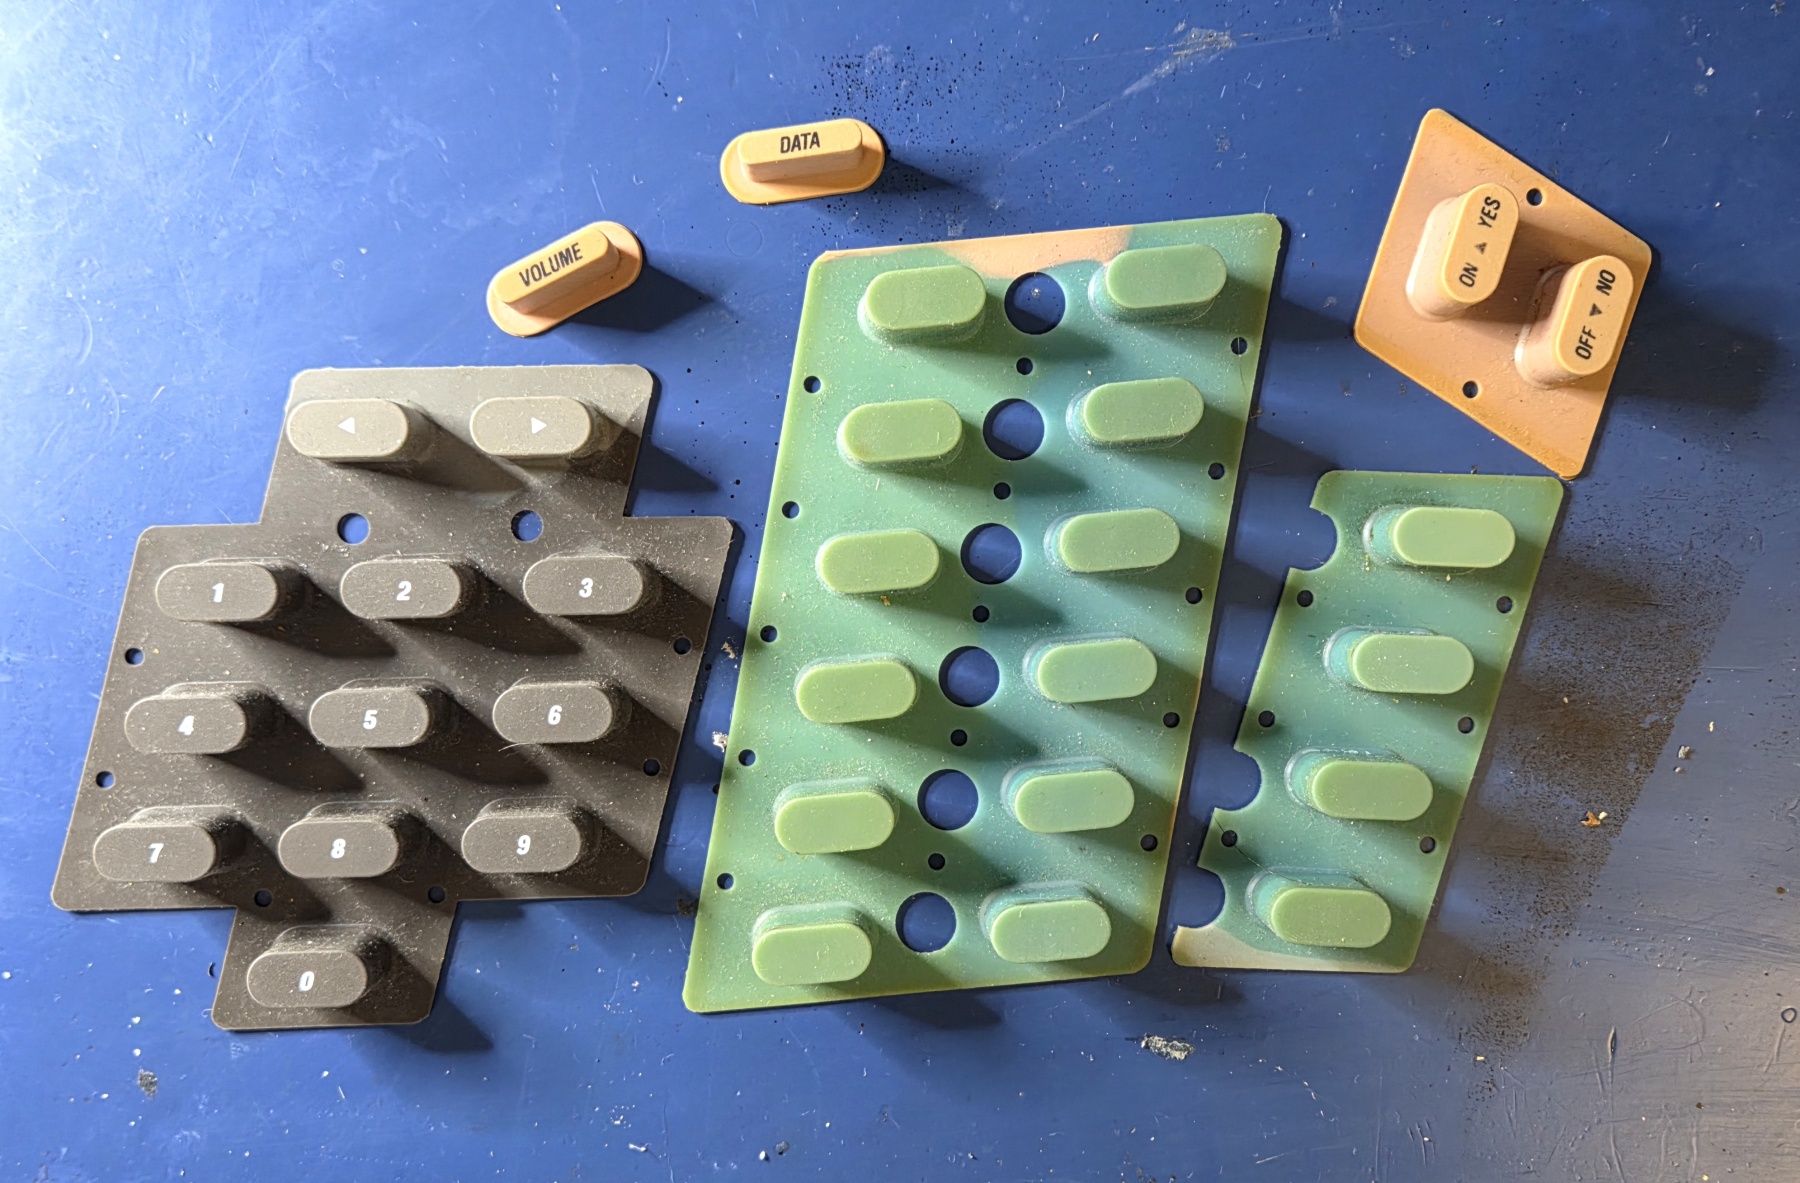
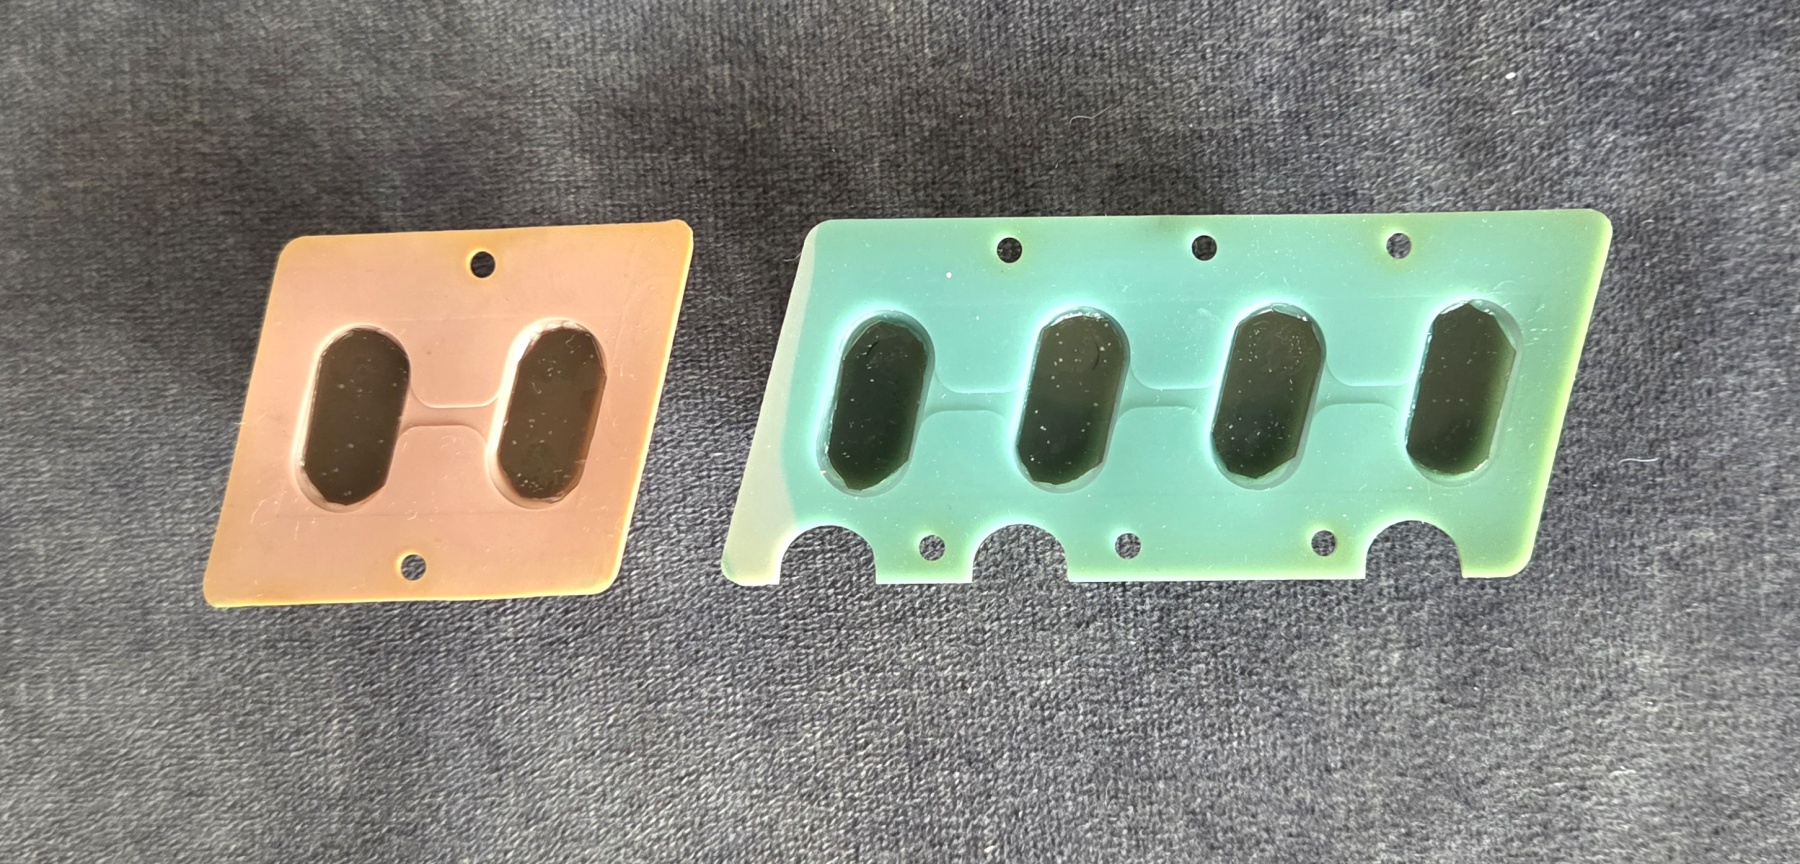
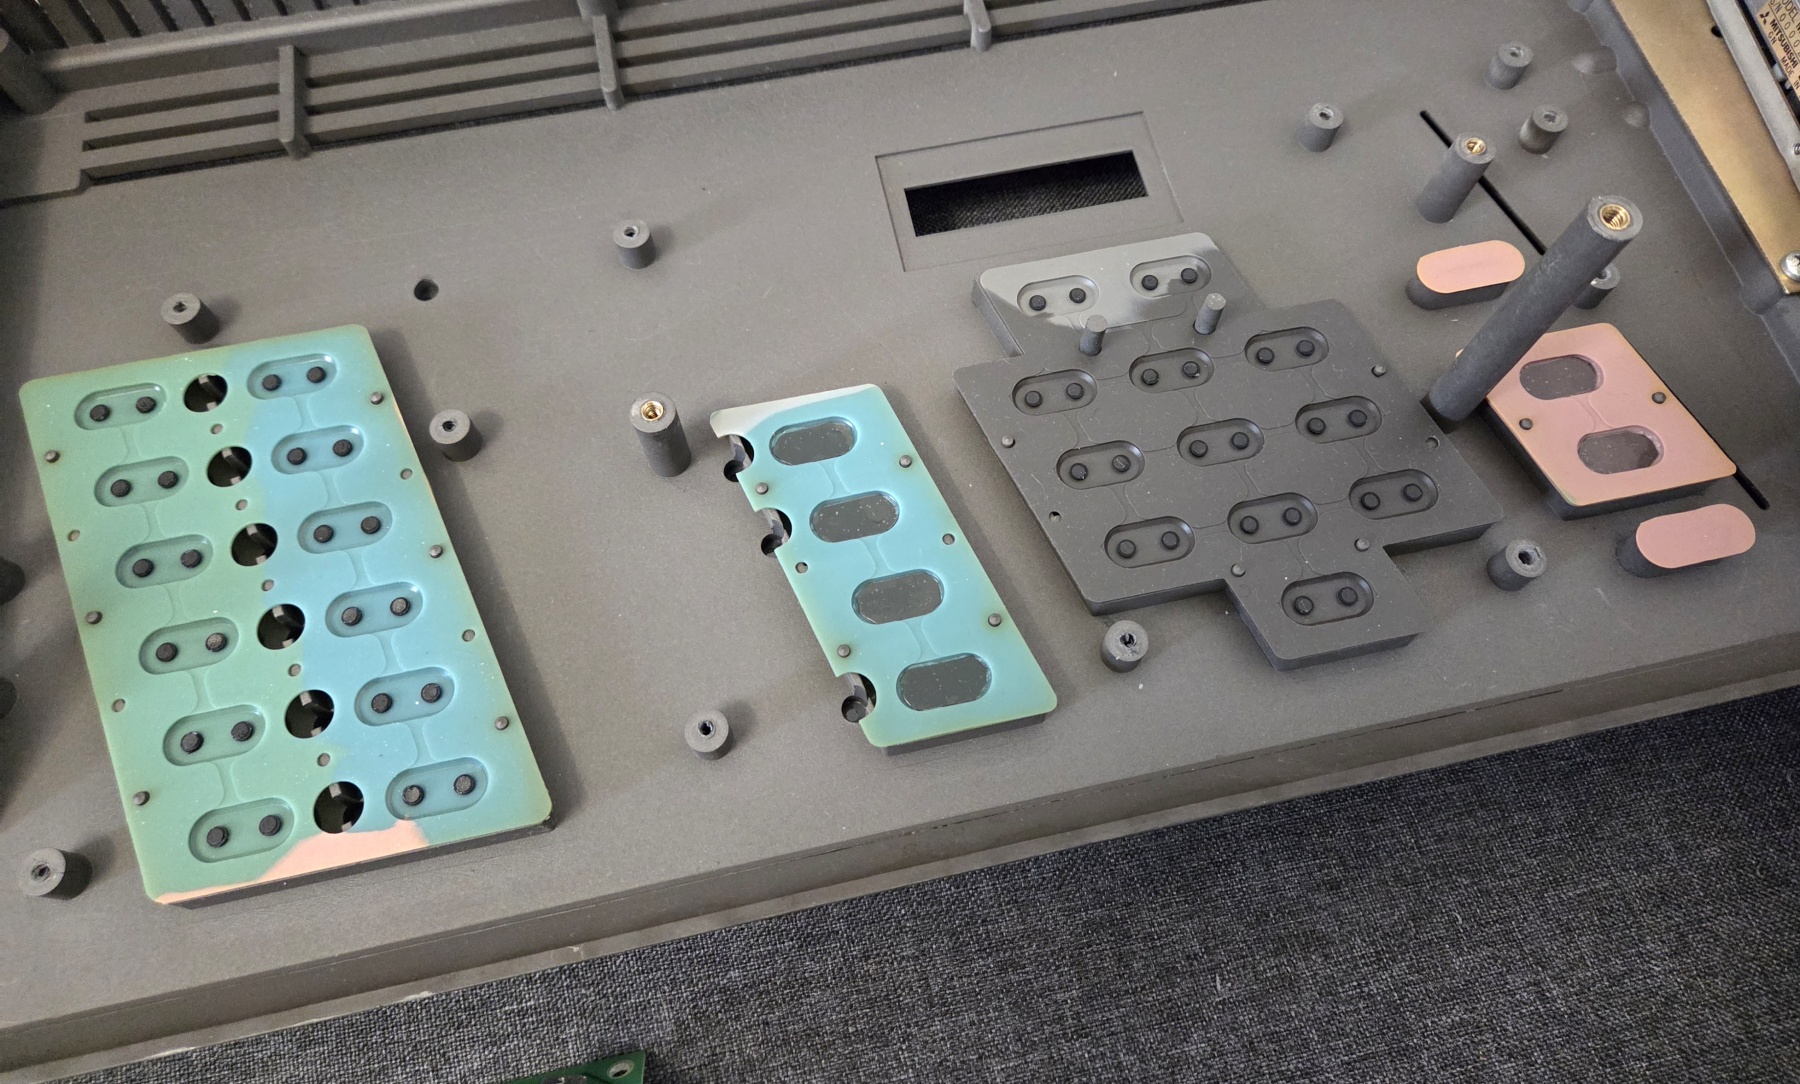
After a brief inspection, it turned out that the front-panel PCB had been modified. Some of the original graphite contact pads had been removed and replaced with small microswitches, whose operation was very unreliable. What is more, the protruding graphite pins on the silicone mouldings that originally pressed against the contact pads had also been removed to make room for the switches. These pins were essential for the original mechanism to work properly.
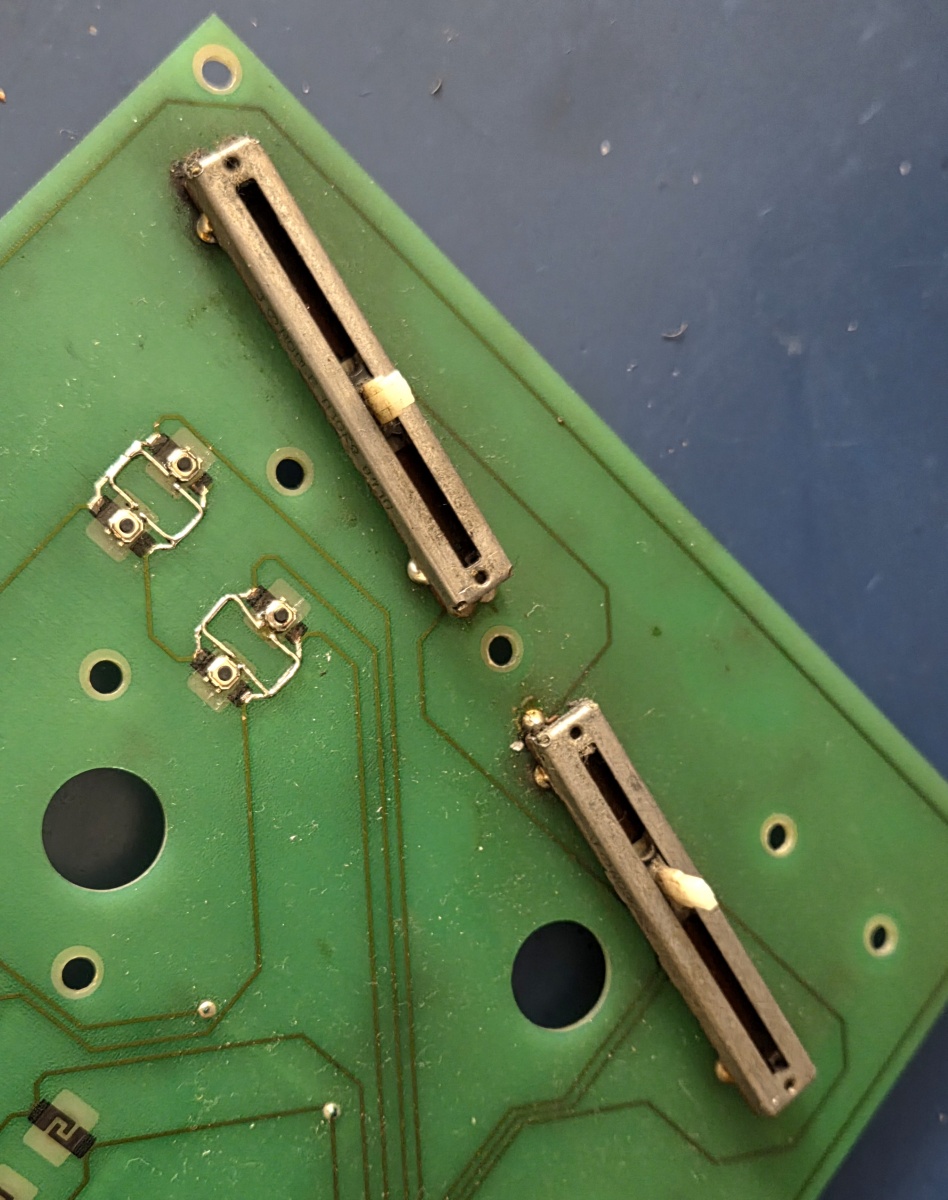
Since it was no longer possible to restore the original solution, I had to come up with something more reliable. I replaced the small microswitches with considerably larger ones featuring larger actuators. I also glued small pieces of thin plastic onto the silicone mouldings, where the original graphite pins had been located. The silicone itself was too flexible to provide sufficient and reliable pressure on the microswitch actuators.
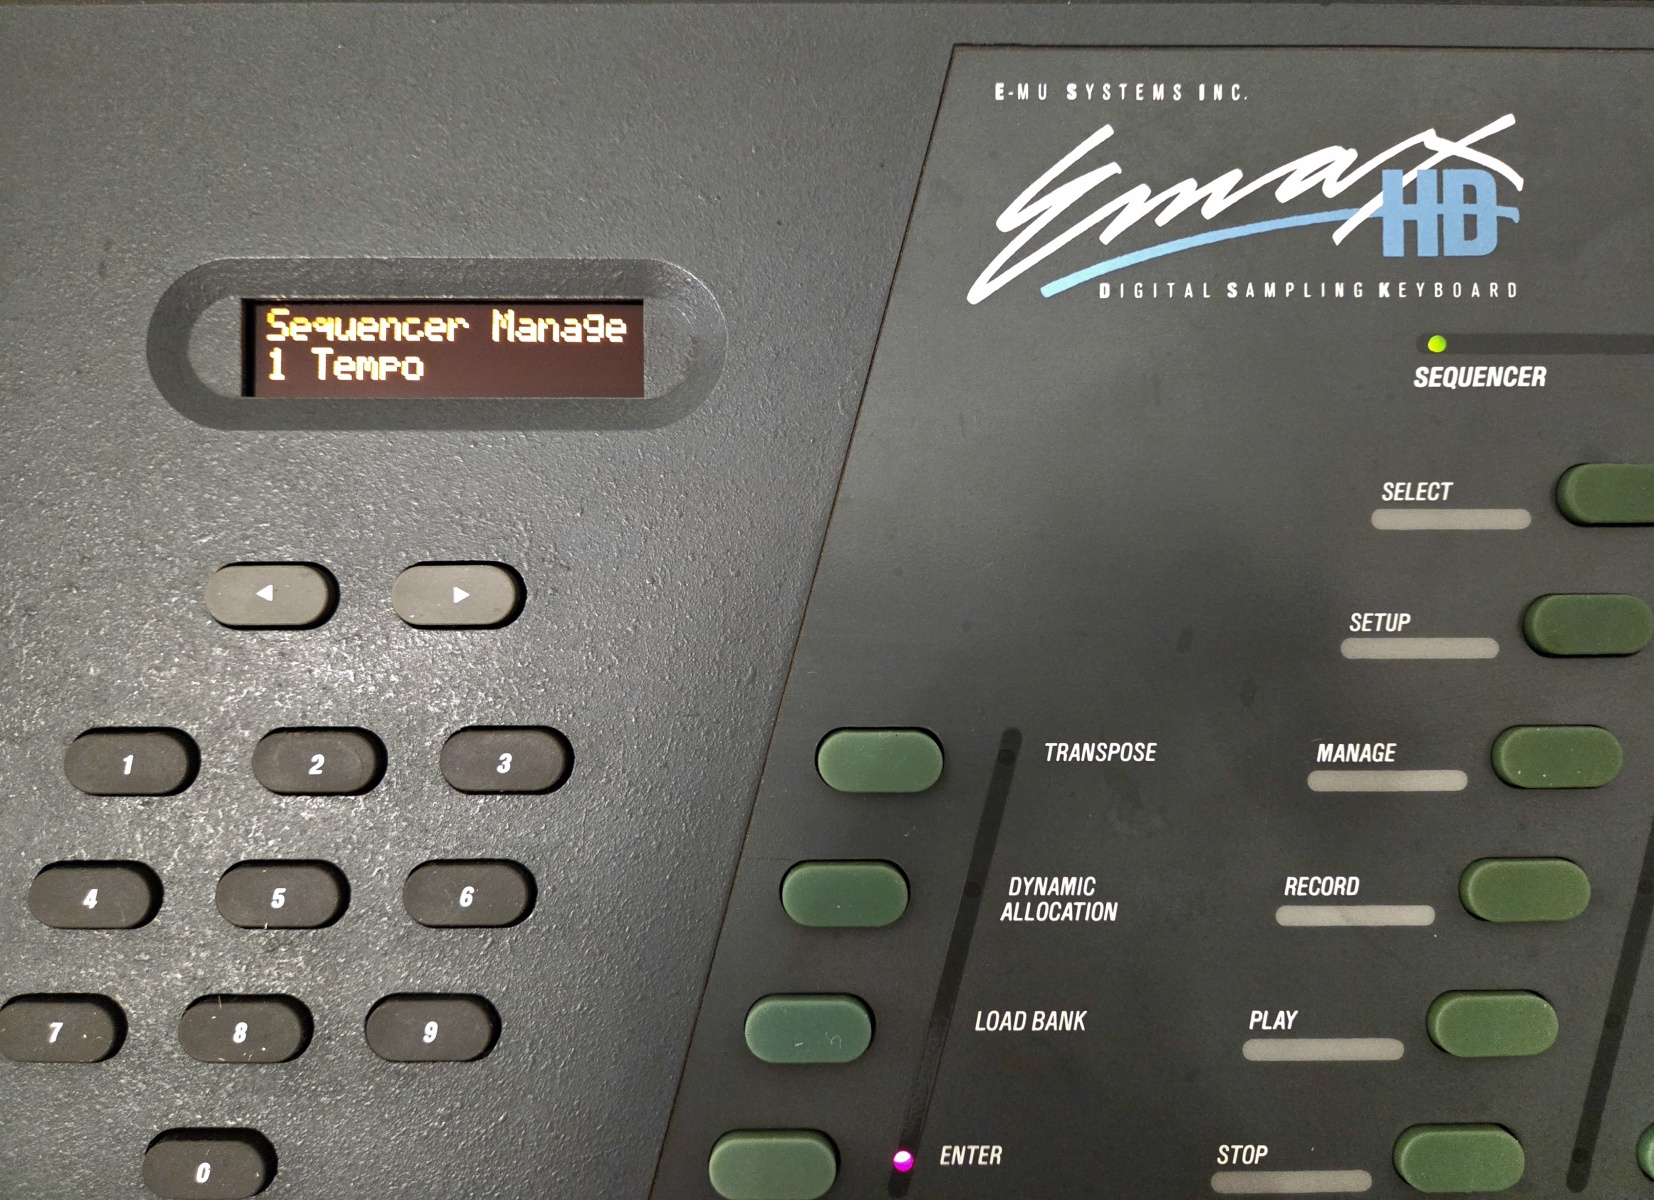
I also replaced the slider potentiometers with new ones. Finally, I installed the beautiful amber OLED display supplied by the owner in place of the original display.
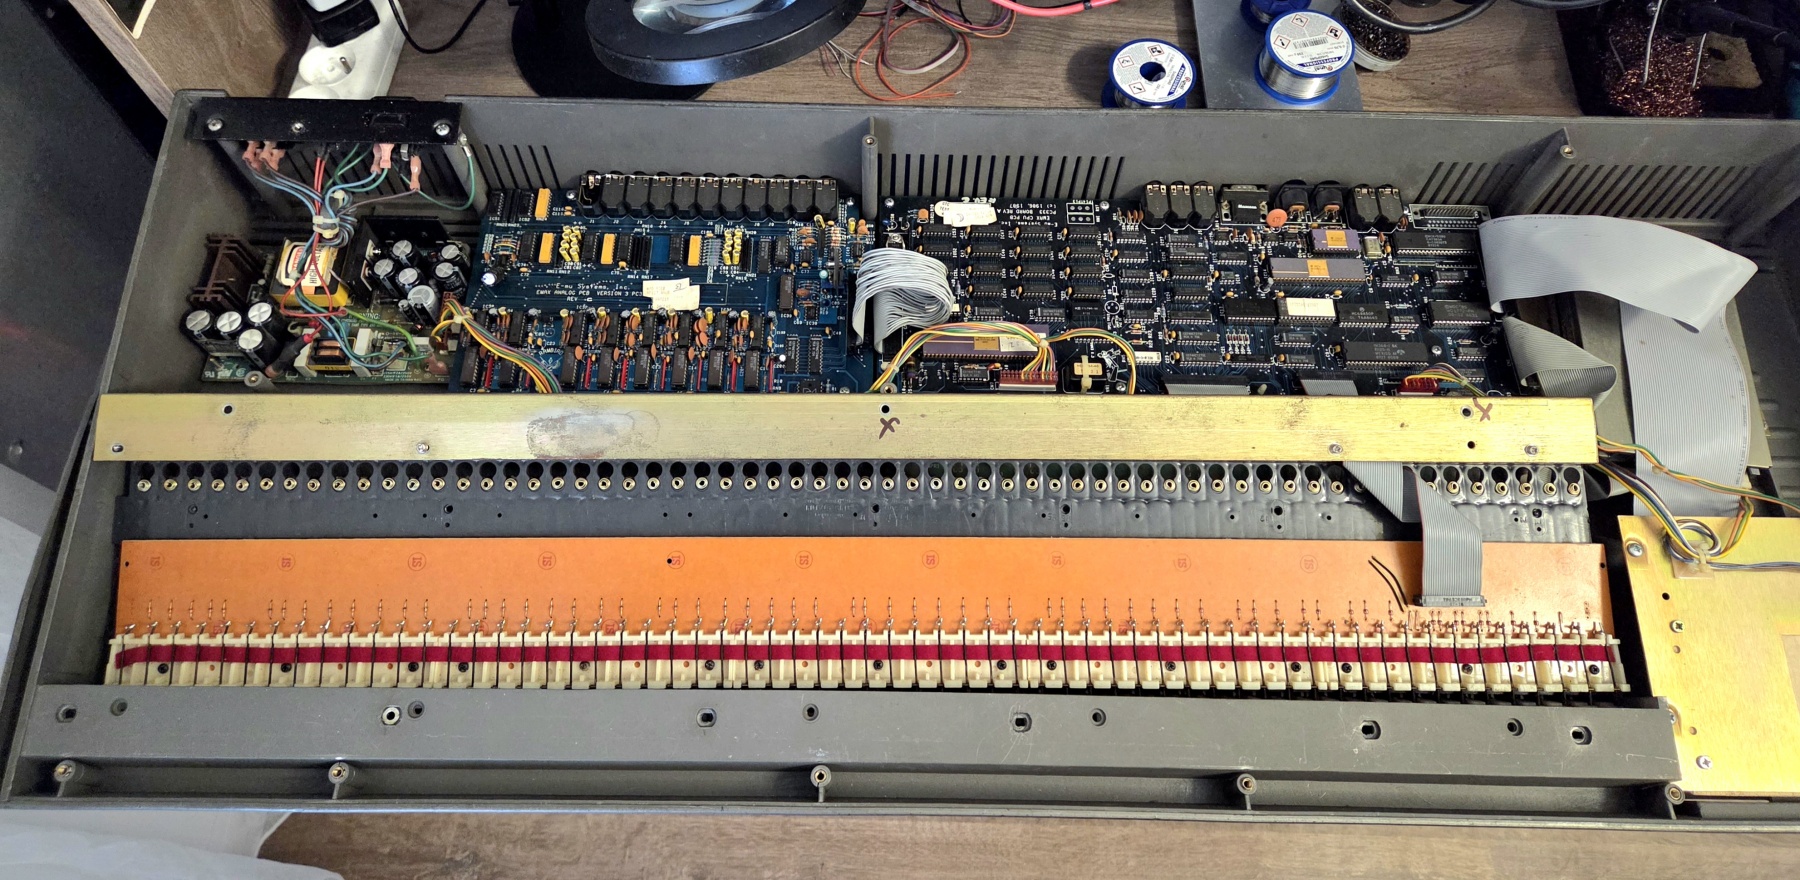
The final step was to change the way the dedicated SD/SCSI module, which had previously been installed inside the instrument, was powered. The module, equipped with a mini-USB socket, required an additional USB cable to be plugged in solely for power. Apart from being inconvenient, this was somewhat bizarre. It did have a dedicated power socket similar to the one used on floppy disk drives, but it did not actually draw power from it.
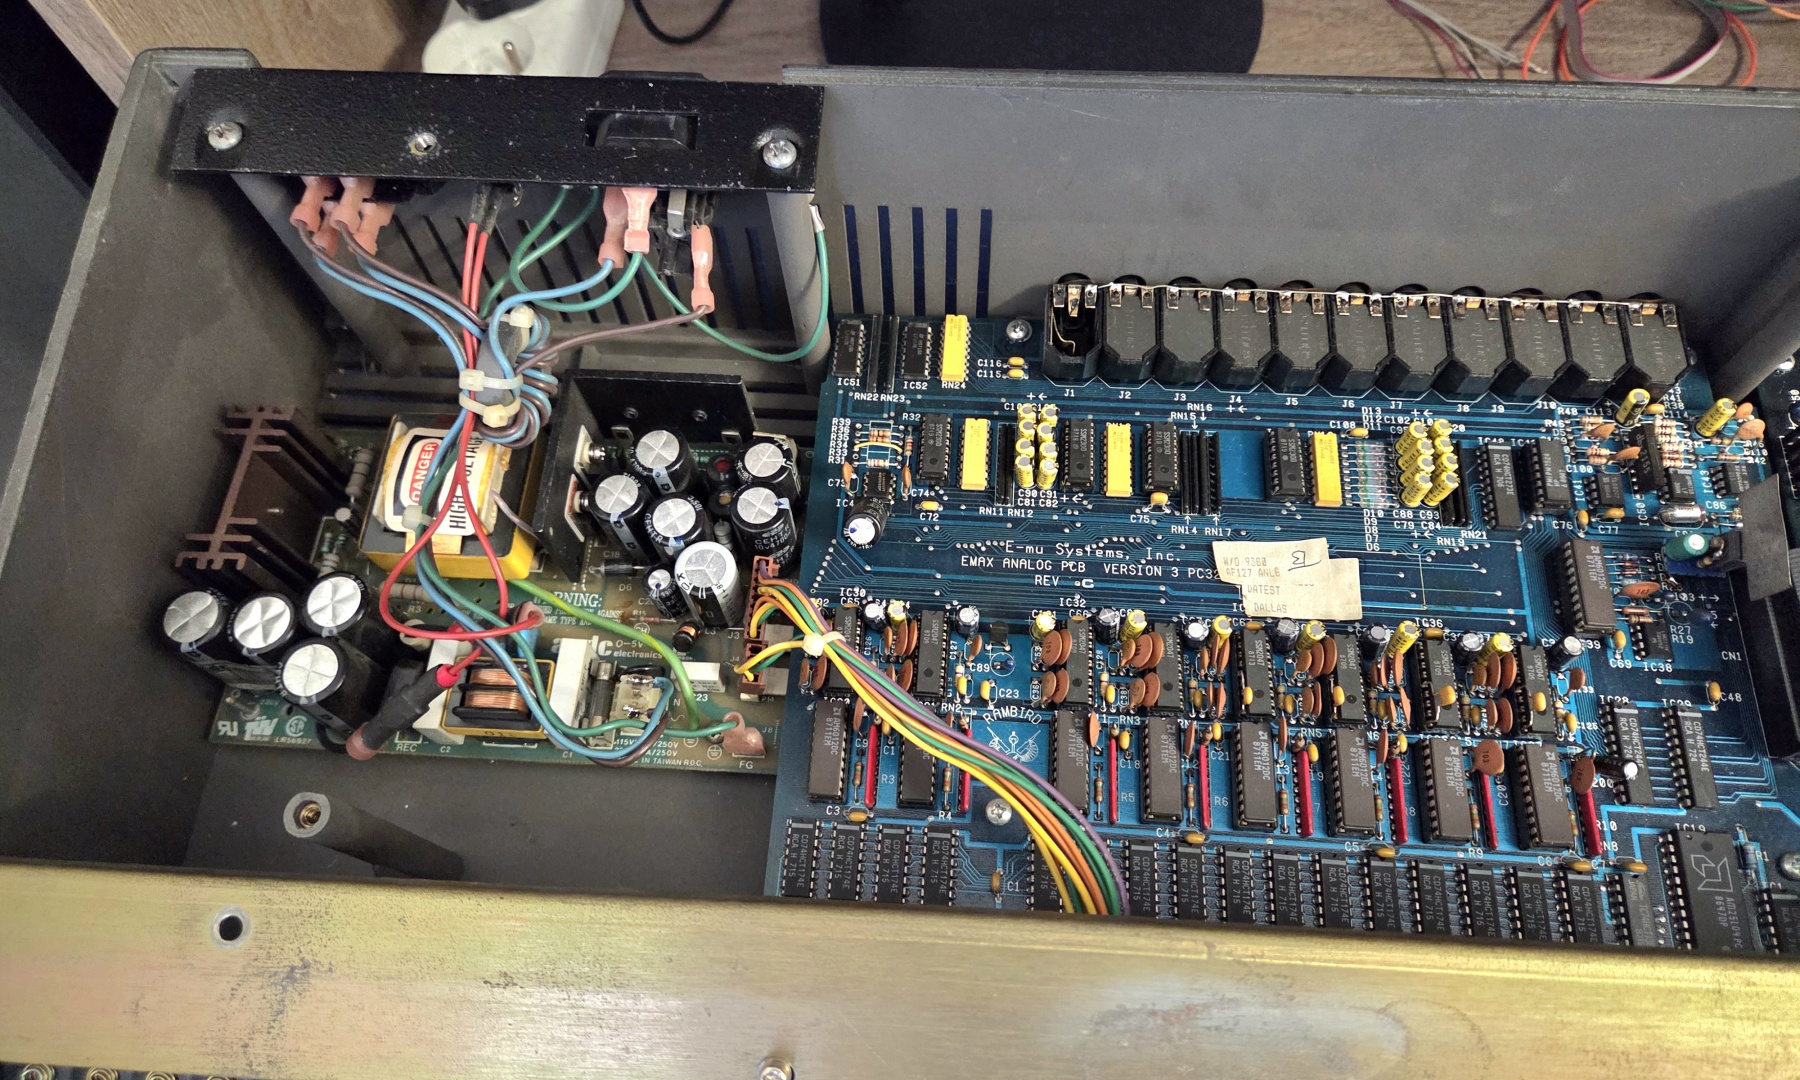
In the end, I powered the module using an additional pair of wires connected to the 5 V supply available inside the instrument. With that, the instrument was fully operational again.